Here are what was accomplished in Summer 2003
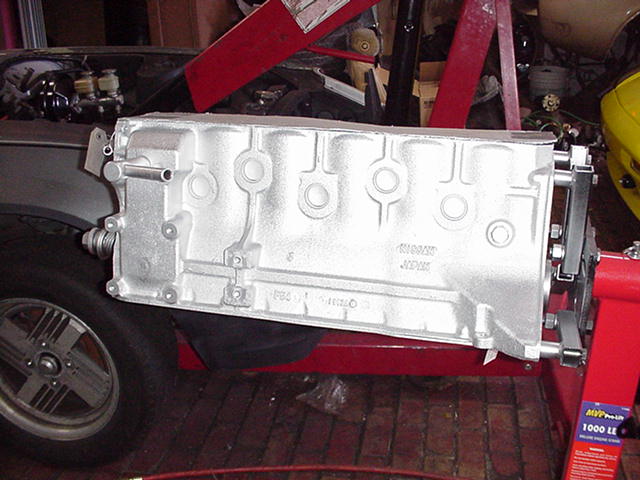
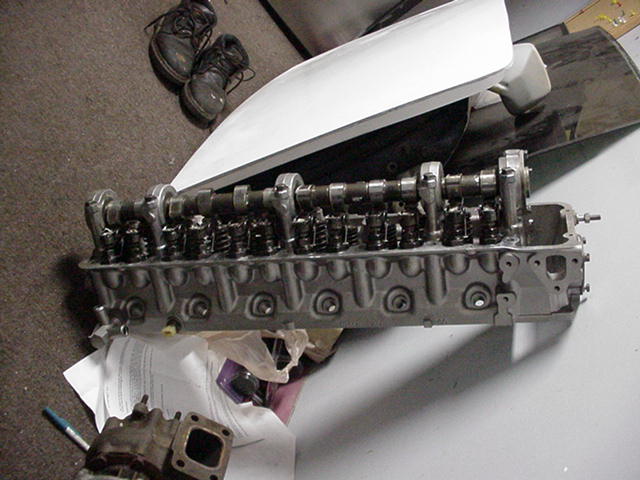
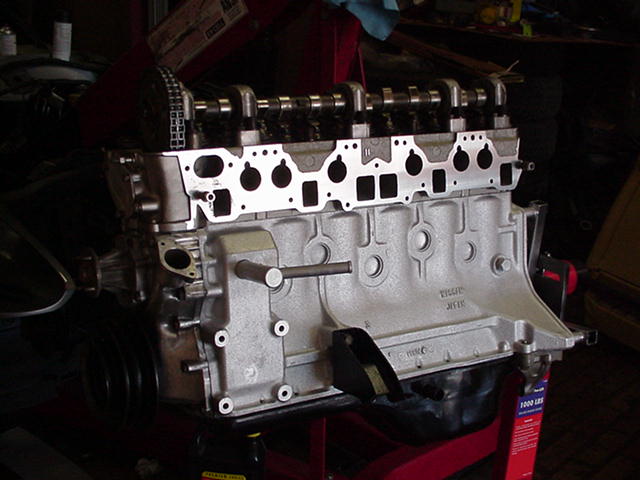
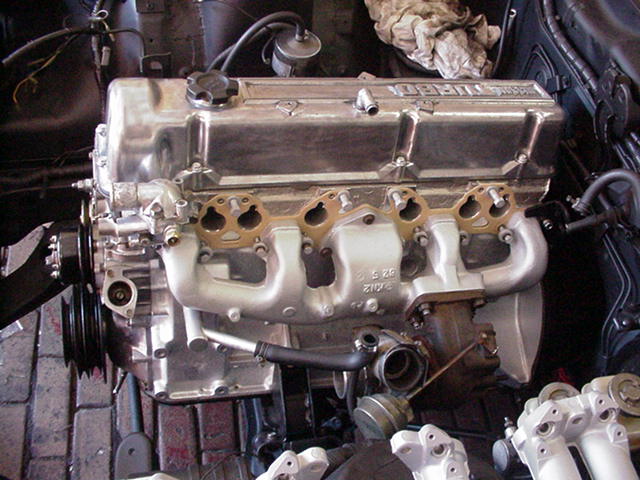
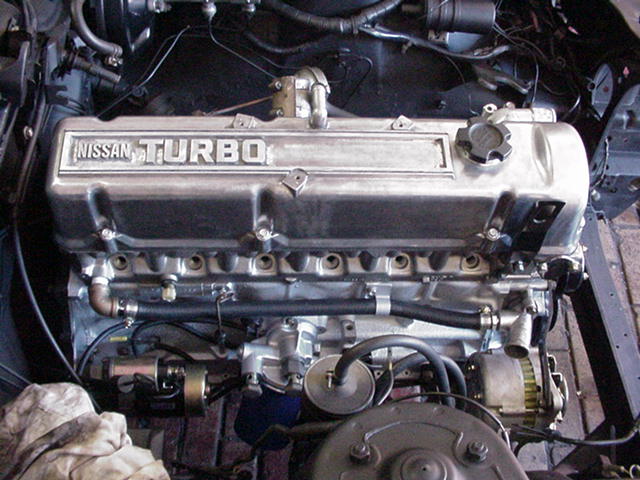
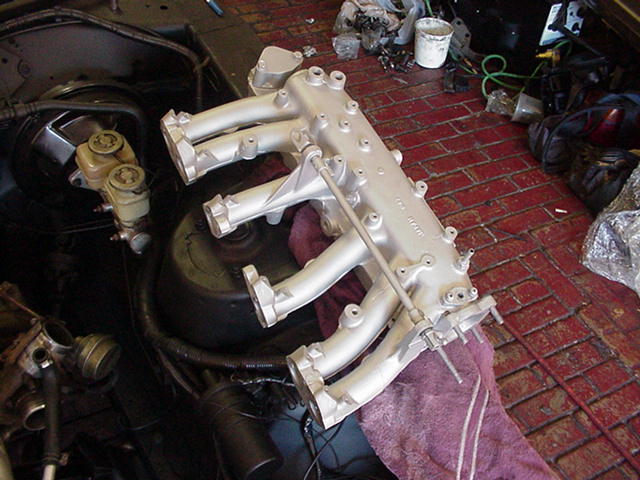
ENGINE PICTURES
bare block , head , block and head , engine 1 / engine 2 / engine 3 / engine 4 / intake 1 /BODY WORK
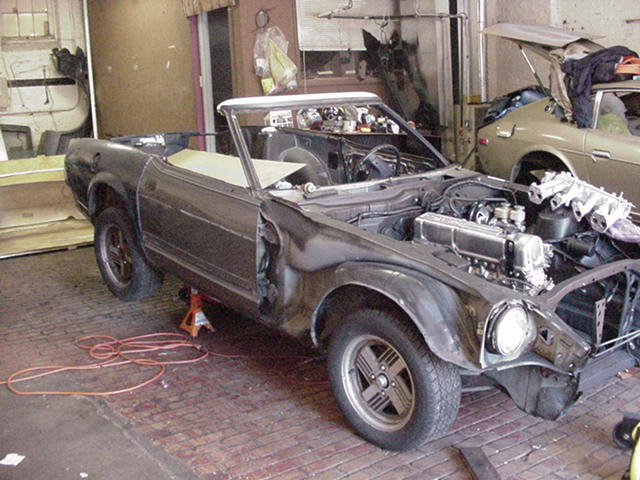
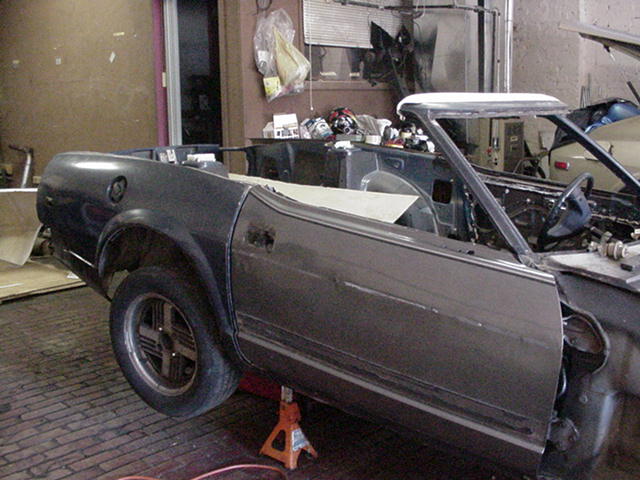
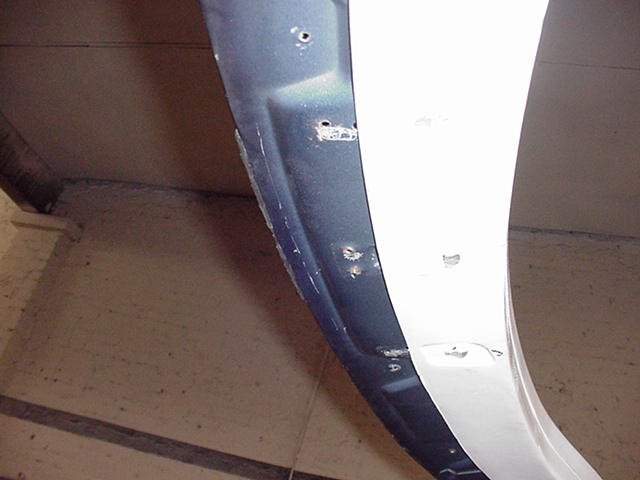
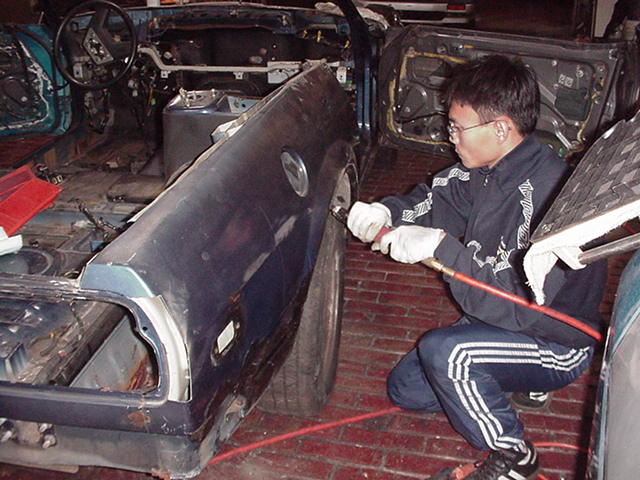
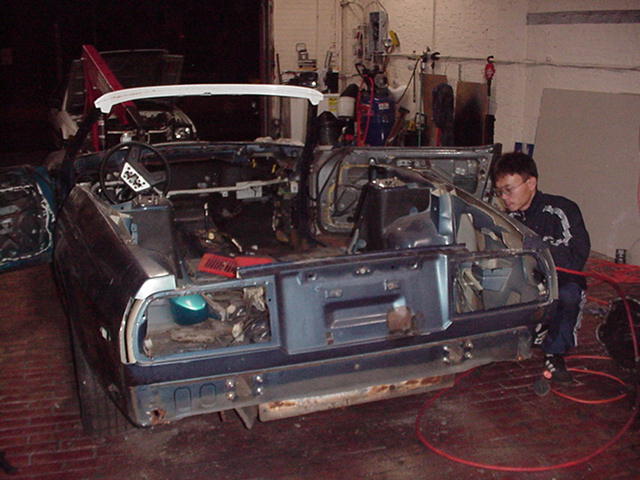
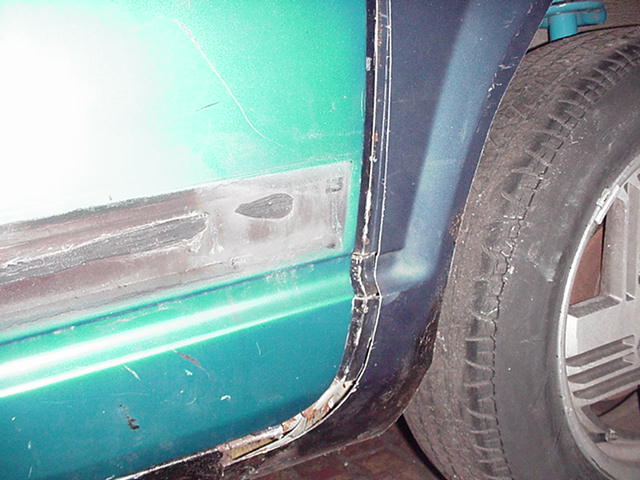
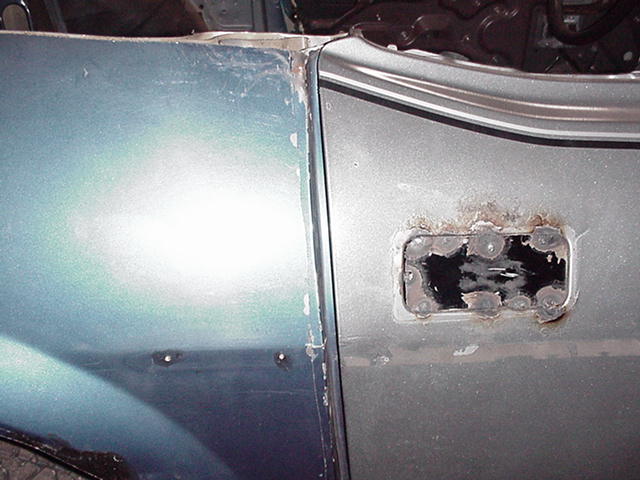
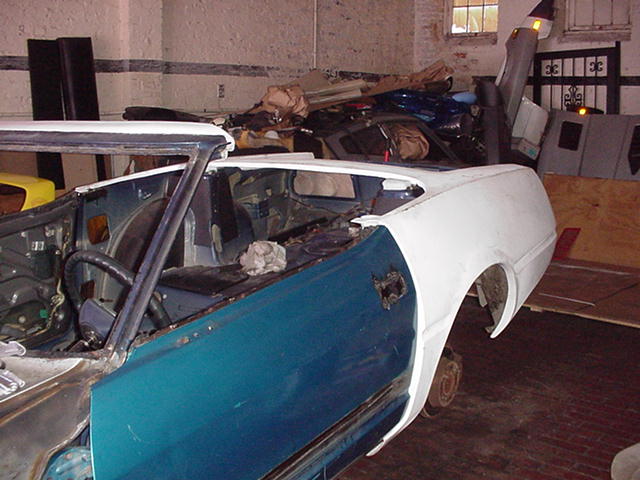
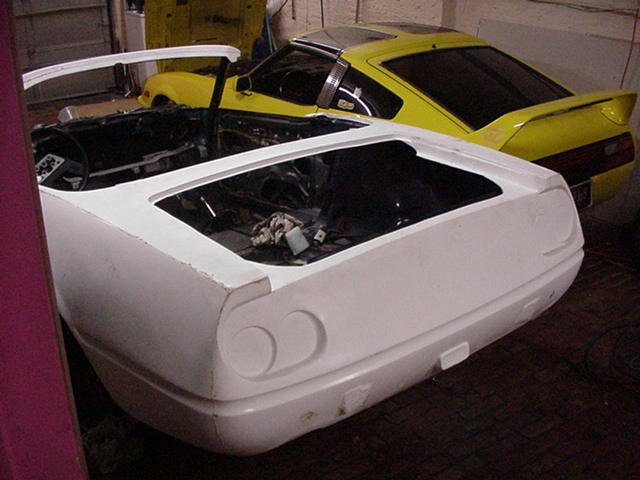
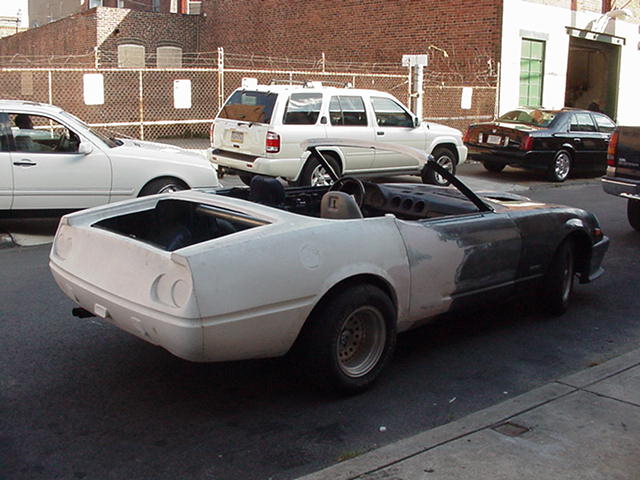
I try to get the rear tub onto the car so that I can get some spaces in my garage to do other works. First I thought I would have to cut the rear tub apart to fit the damn thing on there because the dimension of the kit is the same dimension as the car so there is no way the kit will cover the car nicely. After a few days of thinking I decided to cut the car and shrink where ever it has to to make the kit fit. For some of you don't own a welder better think twice before you start cutting :o) .. I do have a mig welder with a gas tank and welding is a piece of cake for me now.. Anyway here are some pictures for you to see.. The kit fits nicely now..
car 1 / car 2 / car 3 / header cap / pix under the header cap / me working / me cutting / Daytona rear tub / cutoff roof / create gap between door jam/, cut 1/4 panel 1 / cut 1/4 panel 2DEC 5TH
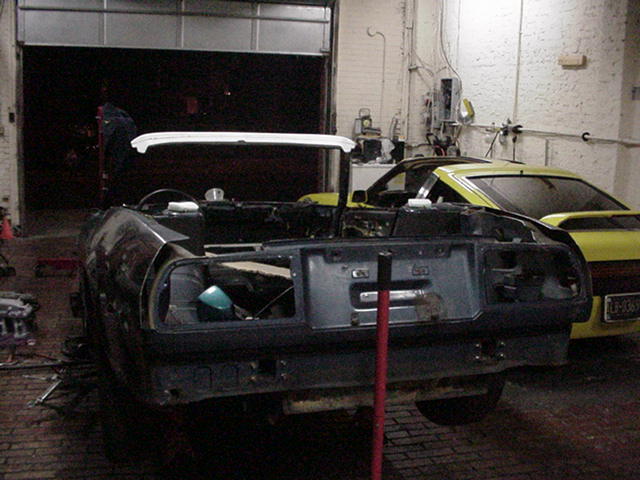
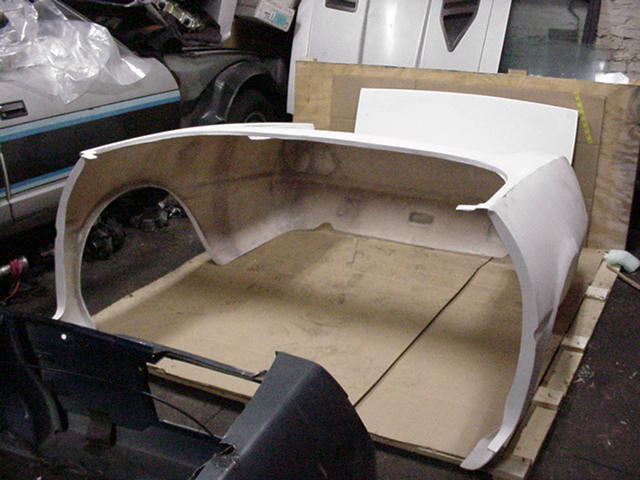
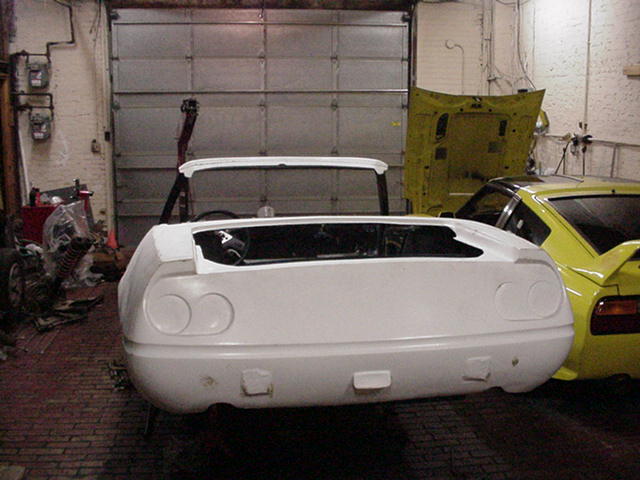
Rear tub on car 1 / Rear tub on car 2 / Rear tub on car 3 / Rear tub on car 4 /
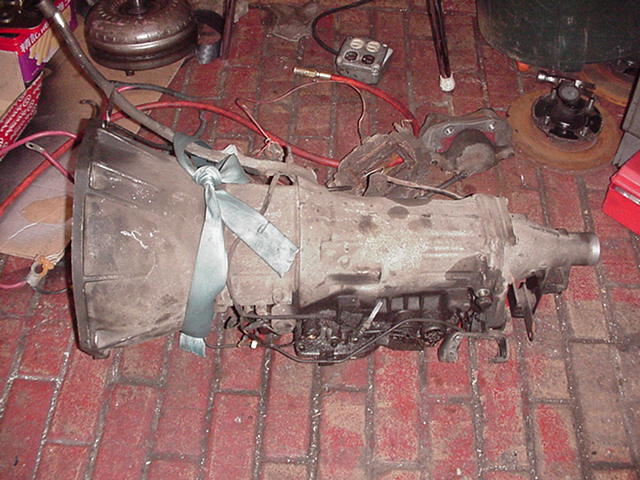
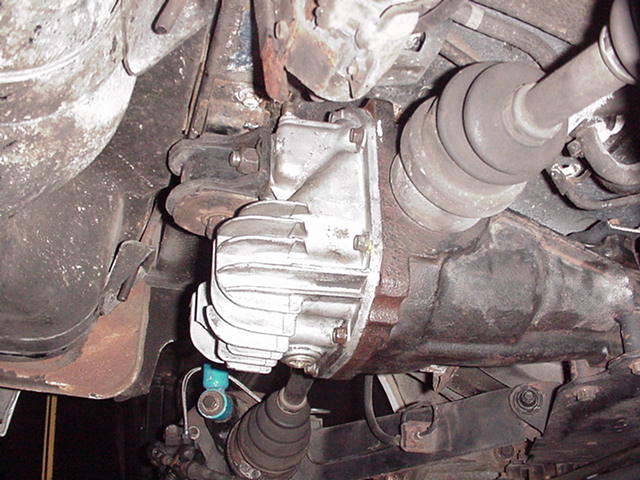
Jan 2002, cut away the stock transmittion mount. Will post some pictures soon. I drilled to get the mount out and without damaging them. This is just incase if anything goes wrong with the Maxima 4 speeds trans. conversion I can always go back to stock 3 speeds or 5 speed BW. I got 2 maxima 4 speeds trans and they are a little different. The one from an 82 maxima has the OD and the 84 trans has the same code as the 3 speeds. The 84 trans use the turbo drive shaft's input and the 82 used the non turbo input shaft type. I couldn't figure out why it is like this. I hope I can swap the output shaft of the trans. Anyway right now I am using the 84 trans so I can use the stronger turbo driveshaft. If anything goes wrong then I will take them apart to see I can swap the output shaft on both of them. Here is a picture of the maxima trans
Also if anyone planning to do this conversion make sure when you get the maxima tranny, get the ring gear and torque converter also.. I didn't get the ring gear and found out later that the maxima ring gear was offset by 1/2 an inch. So be ware.. here is a picture of the Maxima ring gear comparing to the 280ZXT ring gear.
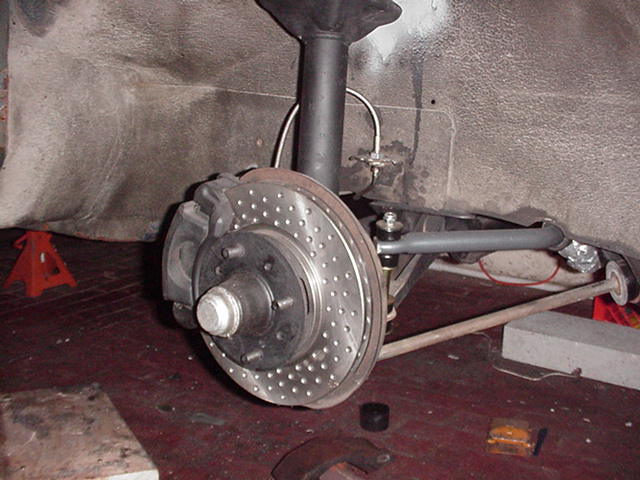
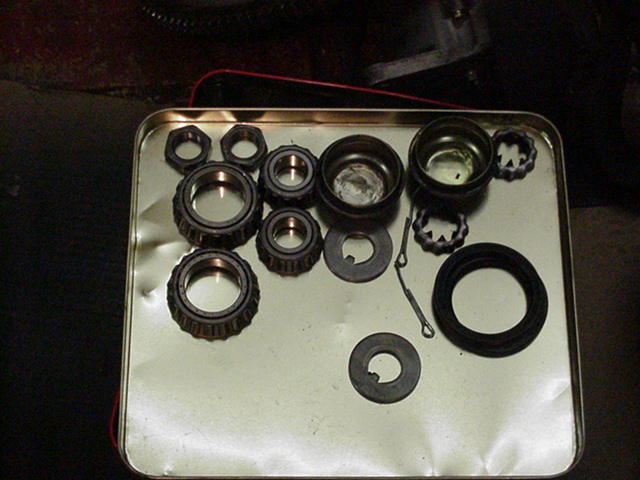
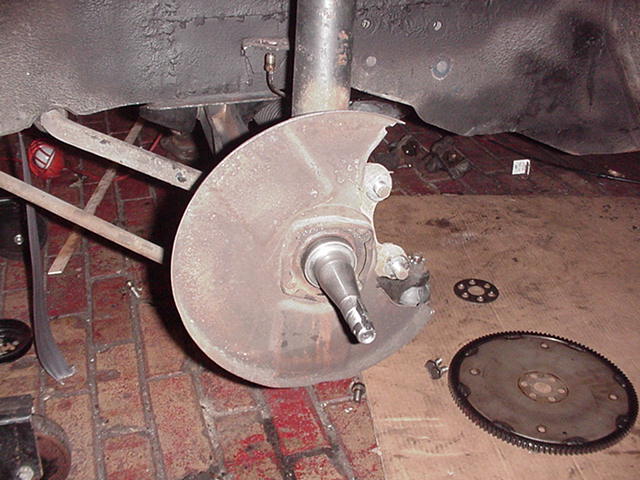
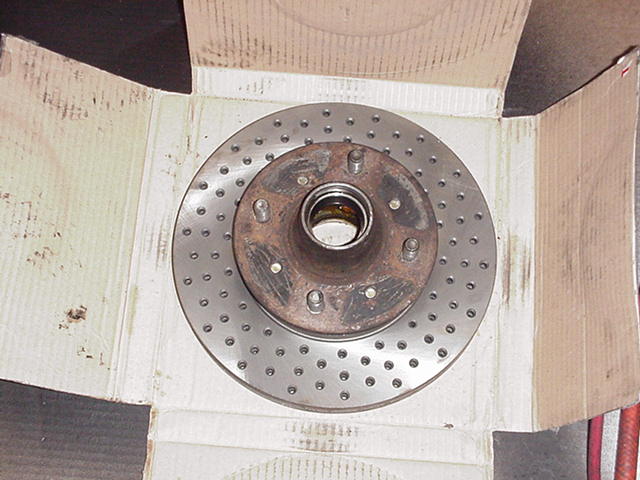
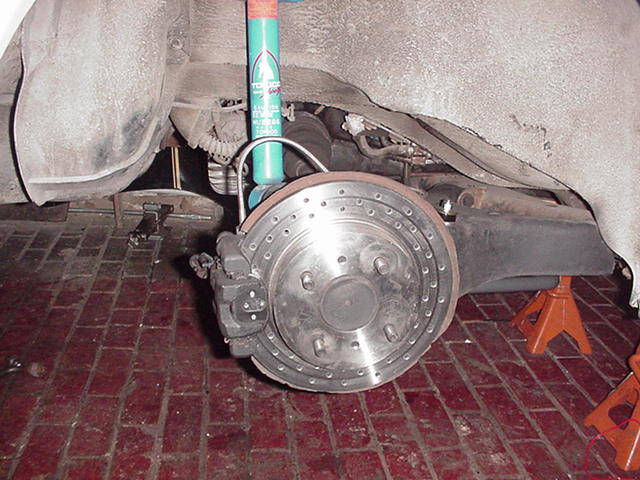
While I am working on the front end I decided to rebuild the front end assembly. I took apart the rotors, calipers .. and clean everything up.. check the spindle and they look good. Note The spindles are coming off a junk yard car with about 80K mile on it. Here are a few shots that I got Bearings. Here's a shot of the spindle and here is a shot of the cross drill rotor. Final pictures front brake , rear brake , another picture of front brake ,
Jan 05 2003
Put in the LSD
Install new clutch and BW T5 (Had to reweld the T-mount back and install a 3.7 speedo pinion in the trans). Waiting for the driveshaft
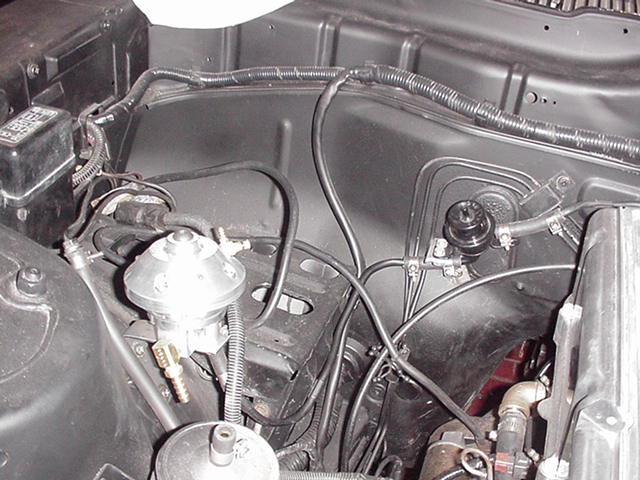
Build the fuel rail and relocate the FPR. Also mount the RR FPR
Install new sway bars and bushings
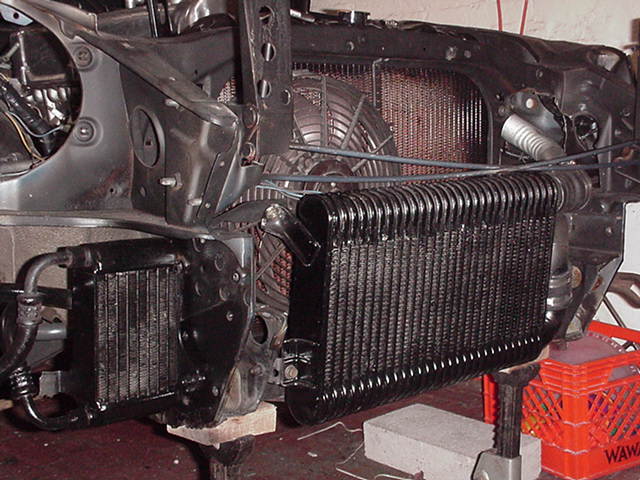
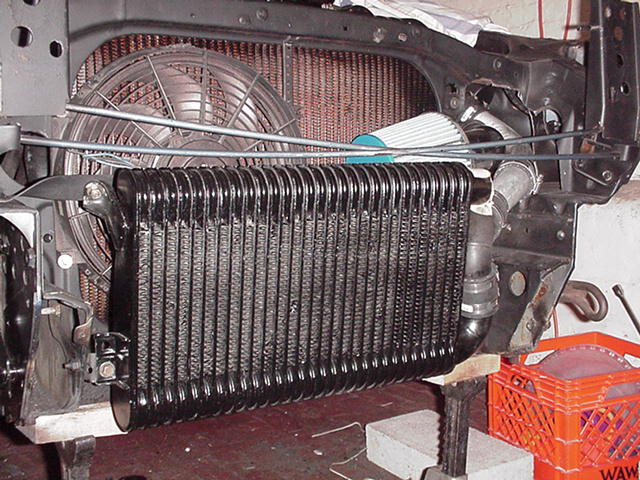
Install oil cooler
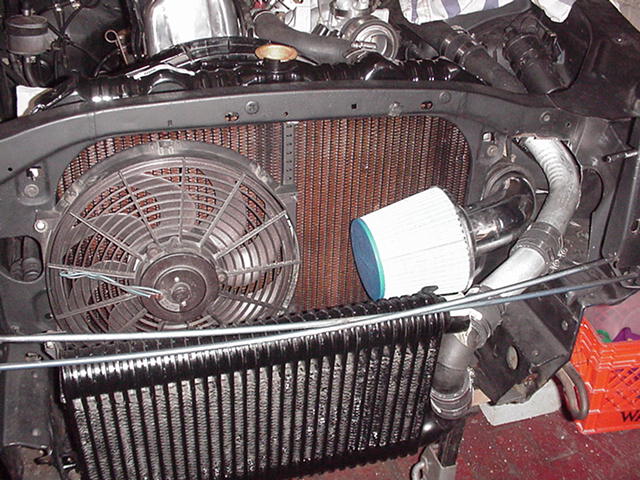
Bought new radiator. Install 16" E fan in front of radiator. I plan to use both stock and this electric fan
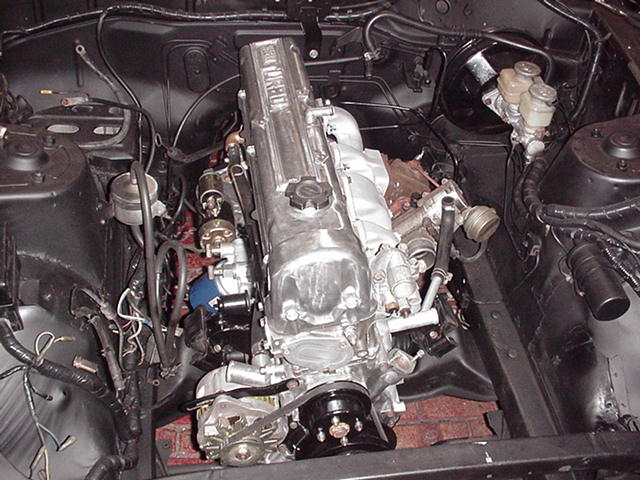
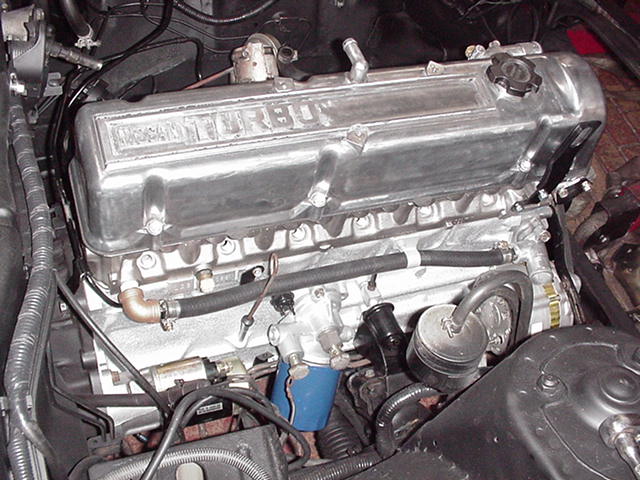
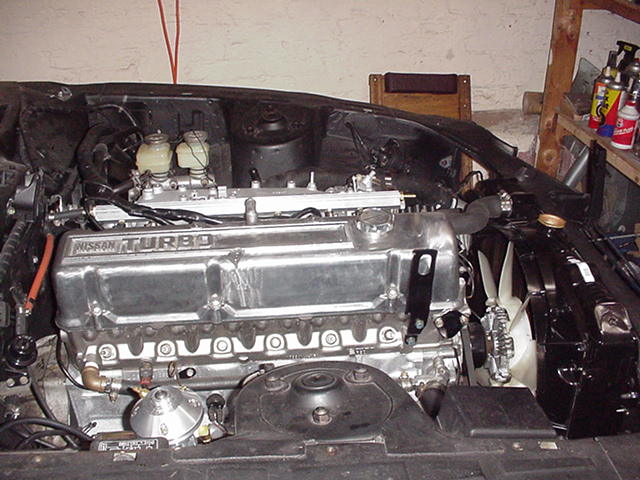
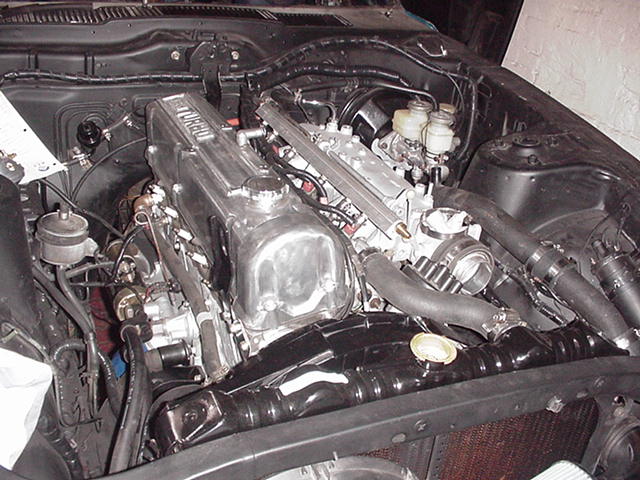
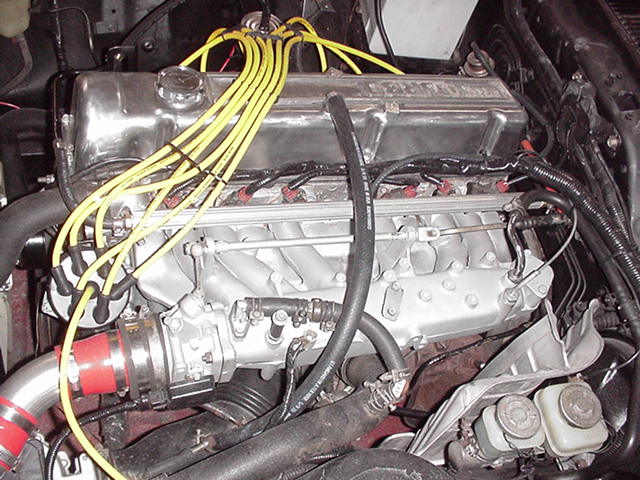
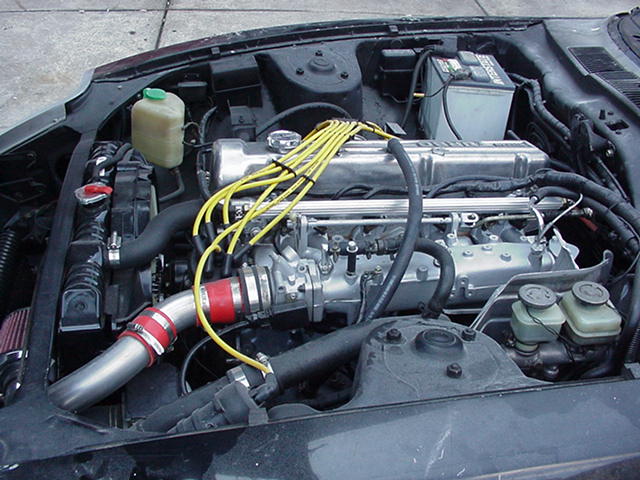
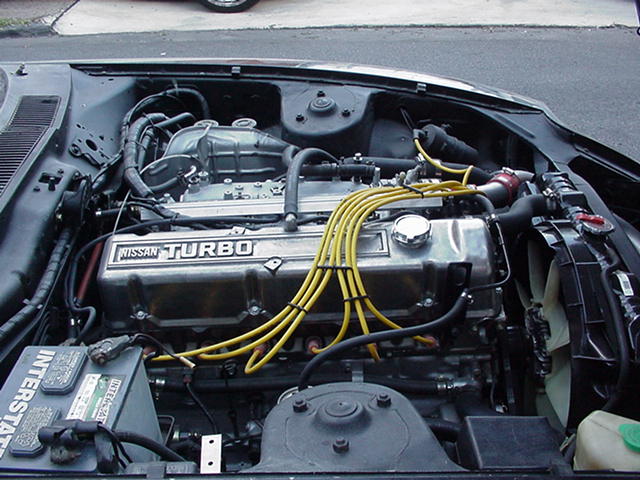
Here are some pictures of the engine ,
engine5 / engine6 / fuel pressure reg ,March 9 2003 -- Got a Supra I/C and install it.
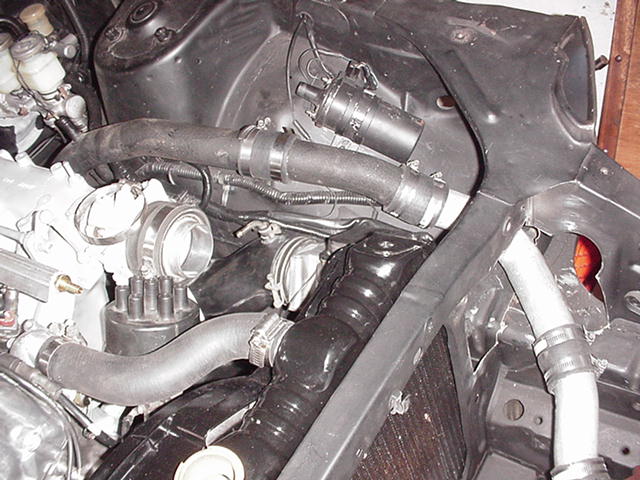
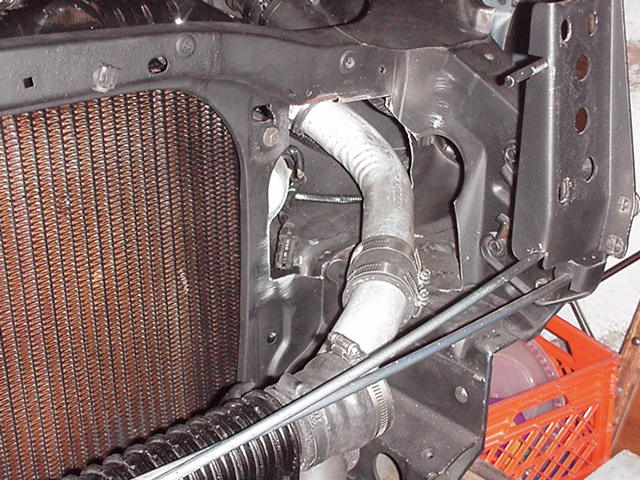
ic1 / , ic2 / ic pipe1 / ic pipe2 /April 24, 2003
Complete the intercooler pipings. Got the "vacuum control valve" from Dustin and hook it up. Also got the T5 drive shaft from Dustin and installed it. Fill up all the fluids and attempt to start it up. Check sparks and it's Ok. Check fuel and it's pumps OK. Start it up and it runs for a few seconds and dies. After a few hours with no luck I hook up the fuel pressure gauge to check for pressure. The pressure was too low. Open up the fuel line before the fuel pump and blow air thru it. Now it has fuel pressure. Start it up and no good again. Lots of smoke .. running rich.. Replace AFM with a new one and it fires up .. YESSSSSSSs.. Let it runs and warm up and set the timing and adjust idle speed. Take it around the block and it seems like it is not running smooth at WOT. Hook up the A/F mixture meter and boost gauge. Look like it's running lean at a certain spot and bogged. Suspect a loose connection at the computer or bad fuel or something. I still have to think about this problem and how to attack it.
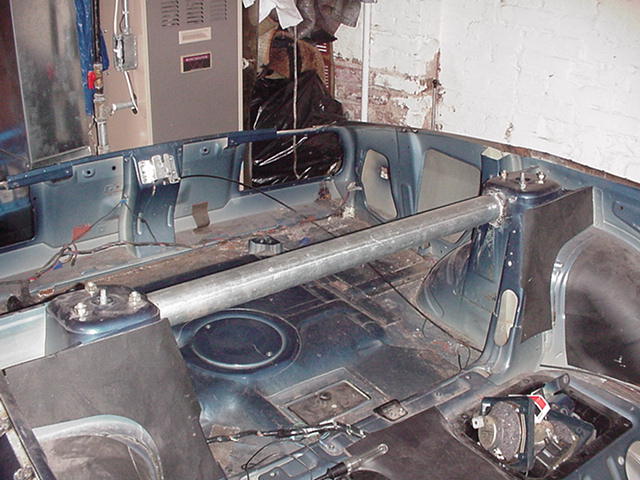
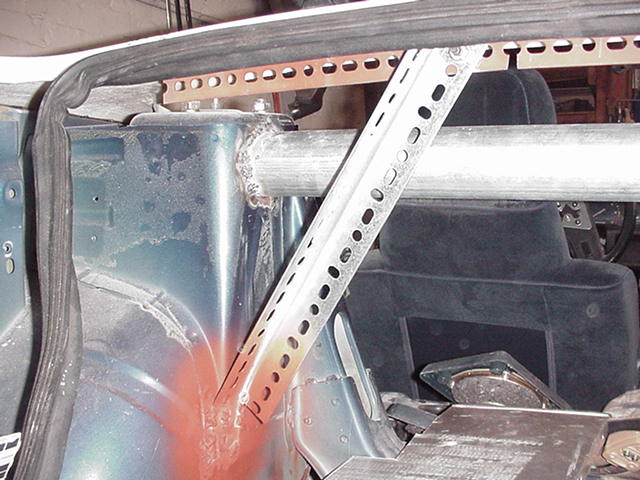
4/26/03 - Weld a 2.5 inch pipe accross my strut towers for now. With the roof cutoff the back is still solid except for the area in front of the wheel wells where the doors meet. I have to figure out what to do to strengthen these 2 areas. I could easily weld another pipe accross but I don't want this pipe to prevent my back rest from going all the way back.
5/6/03 - Solved the running lean problem. It was the fuel sending unit inside the tank. There is a small filter at the end of the supply line going to the pump. This filter has build up a thin layer of film on it and limiting fuel going to the line. Also the line was half clogged. I clean both of them up and hook it back up and the car runs strong under boost.
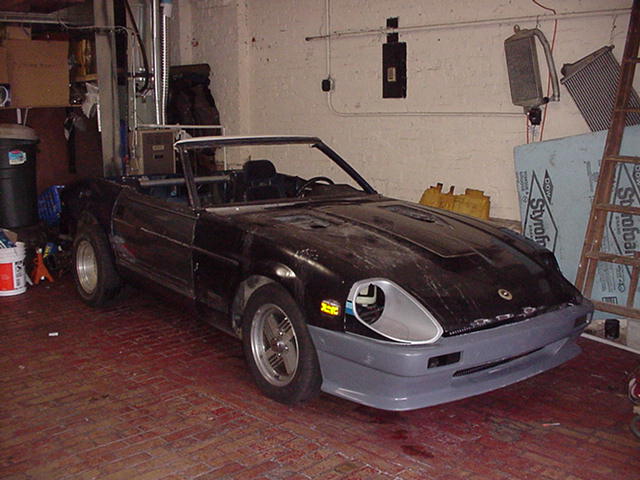
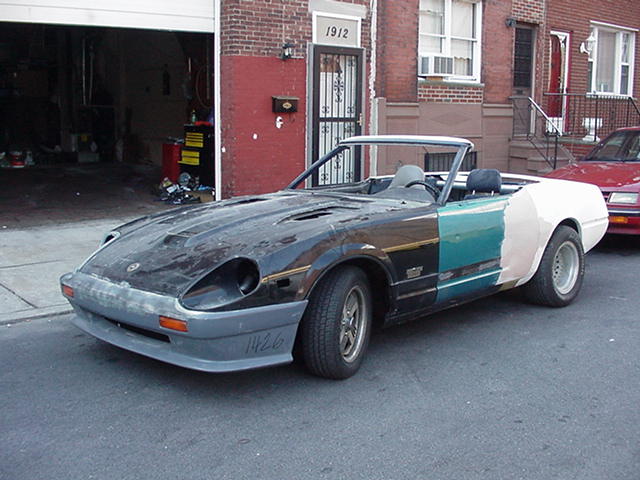
Here is the car
Here are a few latest pictures of the engine bay : engine1 / engine2 / engine3 /
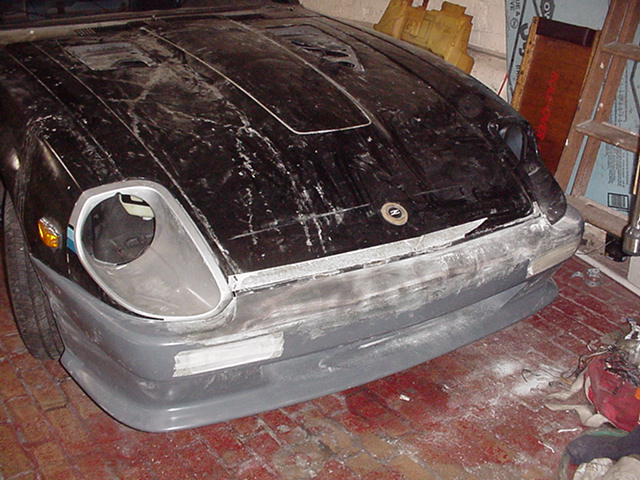
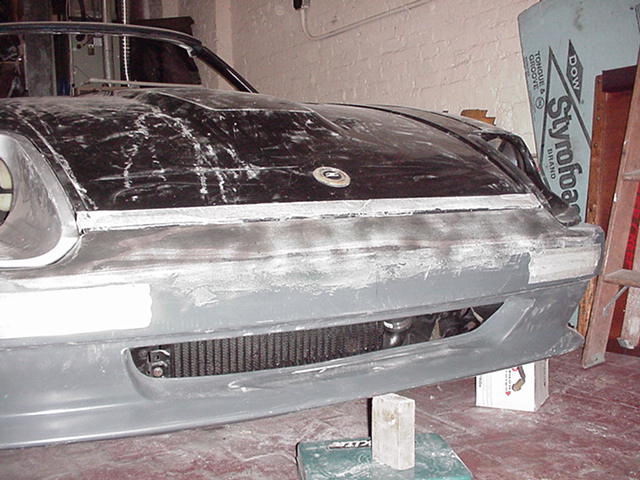
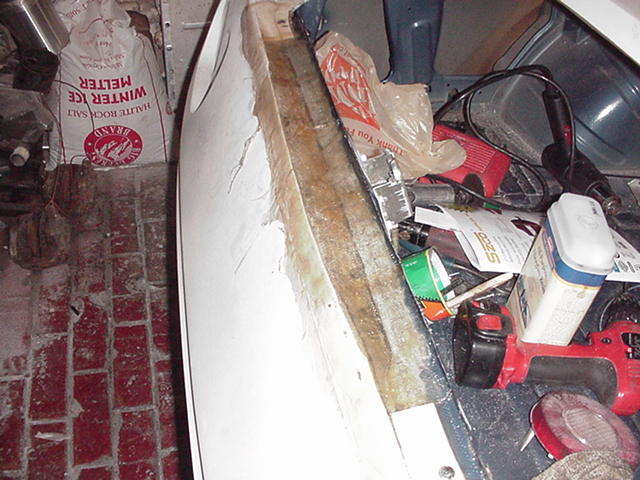
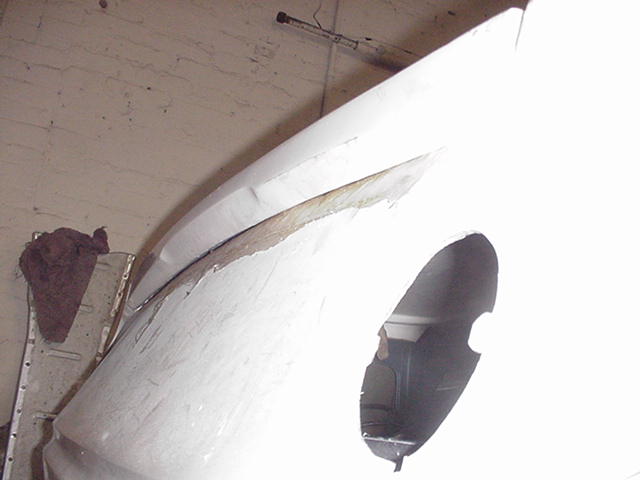
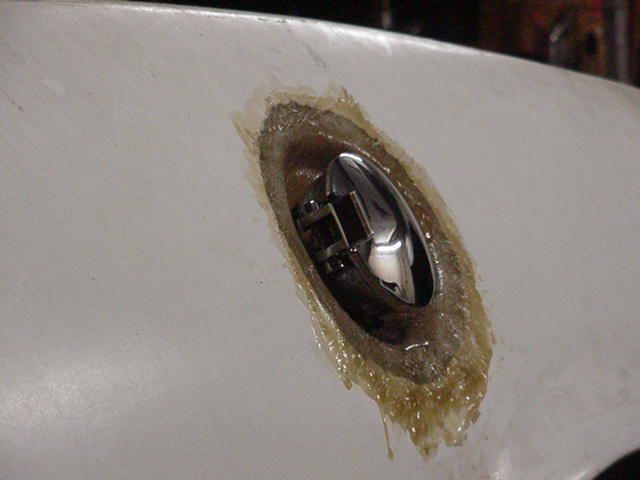
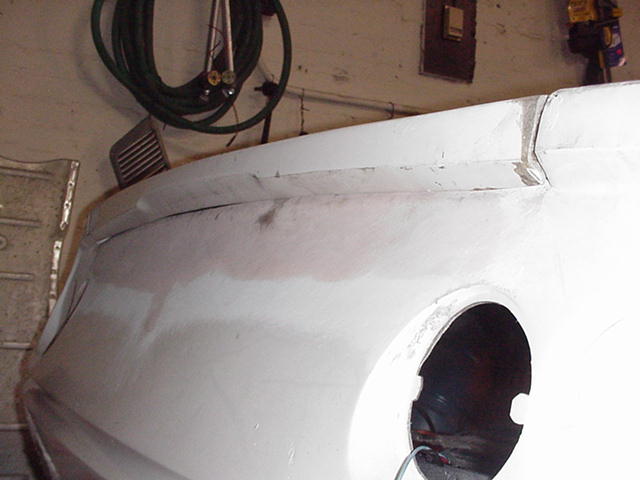
Next will be working on the gas cap for the car and then I can sit the rear tub on the back. Checking out Ebay right now. Found a couple of nice gas caps but too much money. I found a motorcycle gas cap which looks just like the one some hi performance shop are selling and I am tempting to get this and modify it. I plan to modify the front spoiler a little. Mainly add a piece of fiber glass to cover the gap created by the MSA front spoiler and then permantly mount the signal lights in the opennings. I am not planning to use the front bumper support so there is nothing to hold the signal lights. This should be an easy mod.
MAY 18, 2003
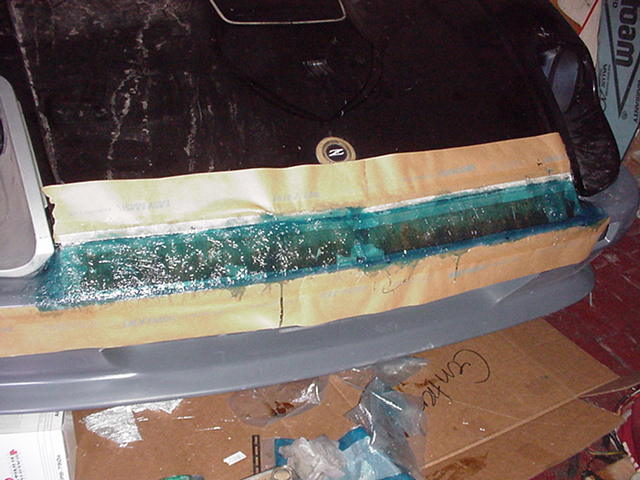
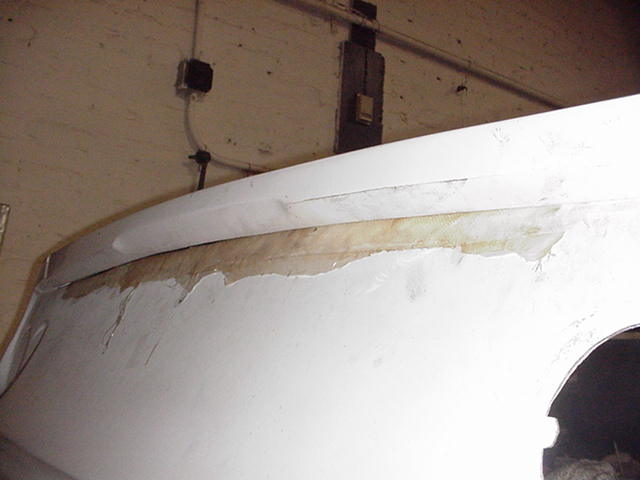
Mount the signal lights into the front spoiler and add a piece of fiberglass to cover the gap on top of the MSA front spoiler. Here are a couple of the pictures. front spoiler1 / front spoiler2 / front spoiler3 /
JUL 4, 2003
Working on flaring the doors to flush with the rear tub. Here are some pictures
front left / rear right /OCT 24th 2003
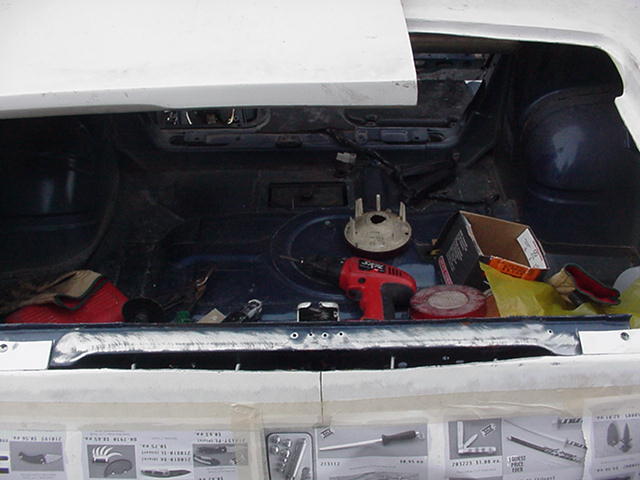
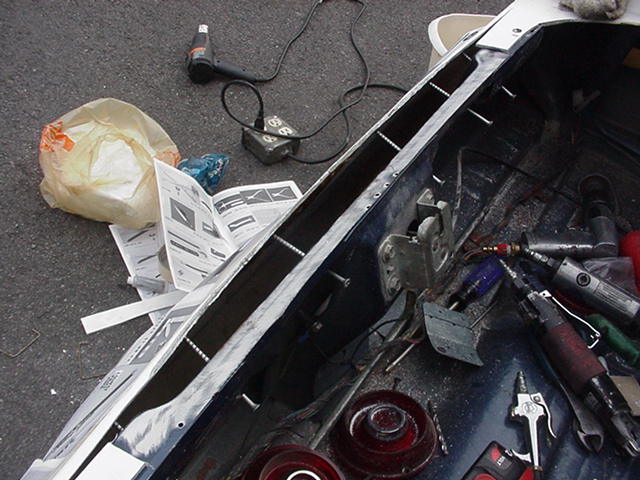
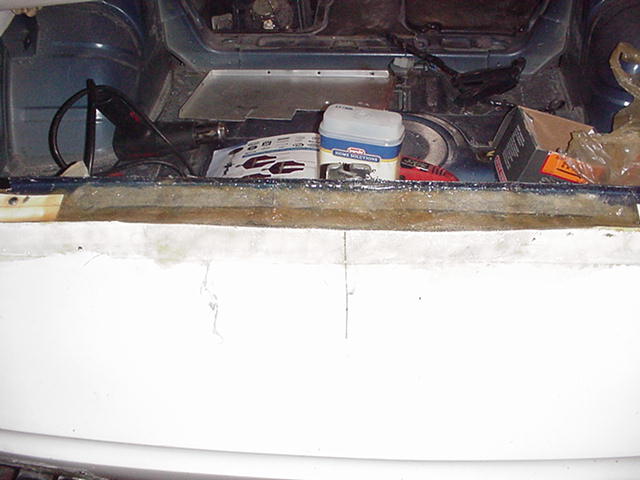
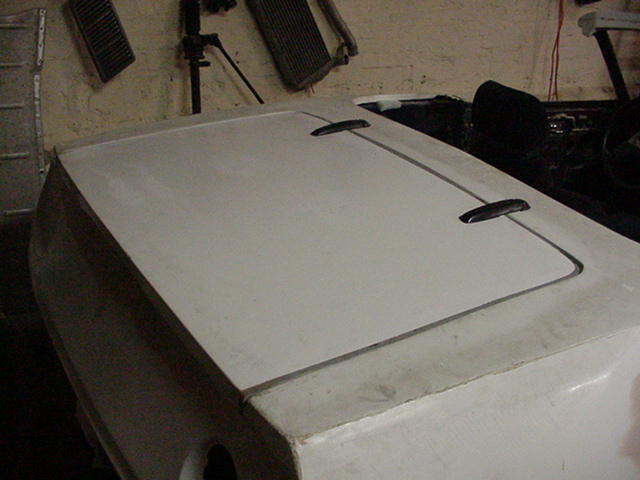
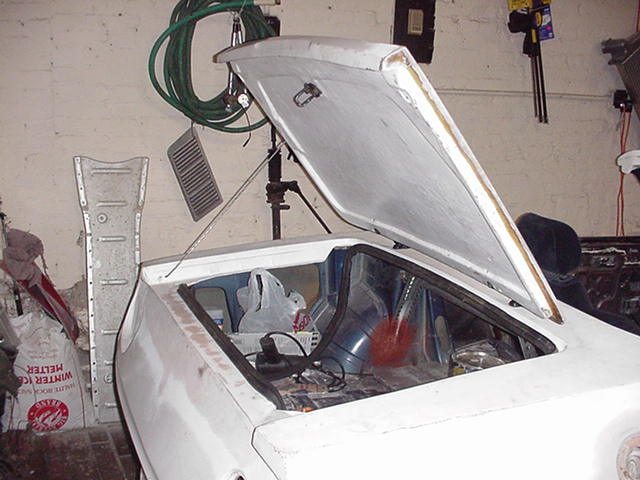
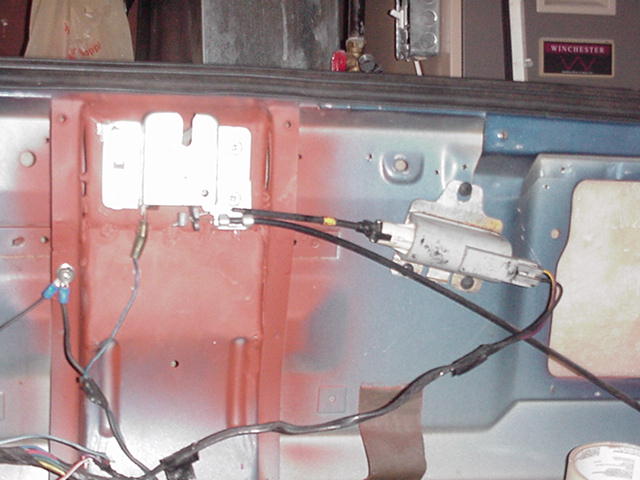
Trial fitting the trunk and find out the trunk lid is too small for the trunk openning. Need to enlarge the trunk lid using fiberglass. Also there is a big gap between the trunk lid and the rear roll pan which needs to be modified. I attack this area by making a relieve cut along the rear trunk edge and 1 cut down the middle of the rear pan about 6 inches. Then I use long screws and screw from the back side of the trunk to push the rear roll pan out slowly until it is flush with the rear of the trunk lid. Here are some pictures of what I am talking about mod rear 1, mod rear 2, mod rear 3, . Then I use fiberglass to bridge the gap between the trunk and the roll pan. Here are some photos: mod rear 4, mod rear 5, mod rear 6, mod rear 7, . And here is a picture of the gas cap gas cap,.
Modifying the trunk is not that bad. I just tape a strip of aluminum on the top of the trunk lid and hand lay the fiberglass on it. I found a set of Mazda RX7 trunk lid hinges in the junk yard and have to modify them a little to get the trunk to open without fexing it. These hinges sitting on an angle on the RX7 and when I mount them on my flat trunk they don't open up at the right angle. I have to grind one side of the hinge off so that they lay flat on top of the trunk lid. Here are a few photos of the finished trunk: mod trunk 1, mod trunk 2, mod trunk 3, . . I also have to modify the trunk latch. I cut 2 triangles on both sides of the old mounting area of the latch and a line accross where it bulges out. Then I push the whole thing in so that it is straight up and down. Then I spot weld the sucker in. It's solid. Here is a shot: trunk latch,. You can see the little mouse on the right side, that's the electric trunk release. The center piece of the tub needs strengthening also. I add a piece of metal right under the center piece and weld it with a long piece of angle iron from Home Depot. I have to make a couple of relieve cuts so I can bend it to the contour of the center section of the kit. Then I weld 2 pieces of angle irons, 1 end to the car and the other bolt to the bottom of the center piece. The bolt is for adjustment if needed. A picture probably worth a thousand words so here it is: center support,. The center piece is solid, I can stand on it without bending it or cracking the fiberglass. Now I can mount the trunk to this center piece without breaking it when the trunk is open.
Next will be the roll cage and some tail lights.